
Monday 28 March was B-Day for Beelieve Honey! Our delivery of 20 hives arrived. To be specific, we received 20 cages each containing about 3 pounds of bees, one queen, and one can of sugar syrup. The queen came contained within a separate caged holder capped on both ends. One of the capped ends consisted of a small cork followed by a candy plug.
The post office was eager to get the bees off their premises so the team had to pretty much drop what we were doing and spring into action. It is also recommended to stage bees within 48 hours of arrival at the final delivery location. Tommy picked up the bees and got them to his backyard near Gessner and Westview. Billy Wimberly and I made a batch of sugar water (1:1 mixture of sugar to water by cup) to use during the transfer of the bees from the cages to the bee boxes. We converged at Tommy’s around 330 pm and got to work.
Billy and I also made a trip to Wabash’s earlier in the day to secure a bee suit and gloves for me to use. Yes, you read that correctly, the bee suit was for me to don…I was going into the swarm. I figured with 30+ hives to manage now my days of limiting my activity to marketing and sales were over. I also made sure I had some duct tape. Any competent engineer should always have duct tape no matter what is going on, but especially if needing to tape up a bee suit for added protection.
Transferring the bees did not take as long as expected. We put two new boxes in Tommy’s backyard. One in Mr. Walker’s new, fancy-schmancy beehive designed to allow honey to flow out at the turn of a valve. There are many skeptics in the family regarding the engineering and long-term reliability of the neat-looking beehive so stay tuned for updates on its performance. One cool feature of the beehive is the clear window on the side that affords an up-close-and-personal encounter with the bees. I believe the brand is Flow Hive.
We added two to our backyard. We put four hives at the Cognascents office in Katy. Billy put five new hives in his big backyard out in Remington Trails. And the remaining six new hives were stationed at our property in Fayette county. The total time to transfer all 20 hives (excluding travel time from place to place) was about five hours.
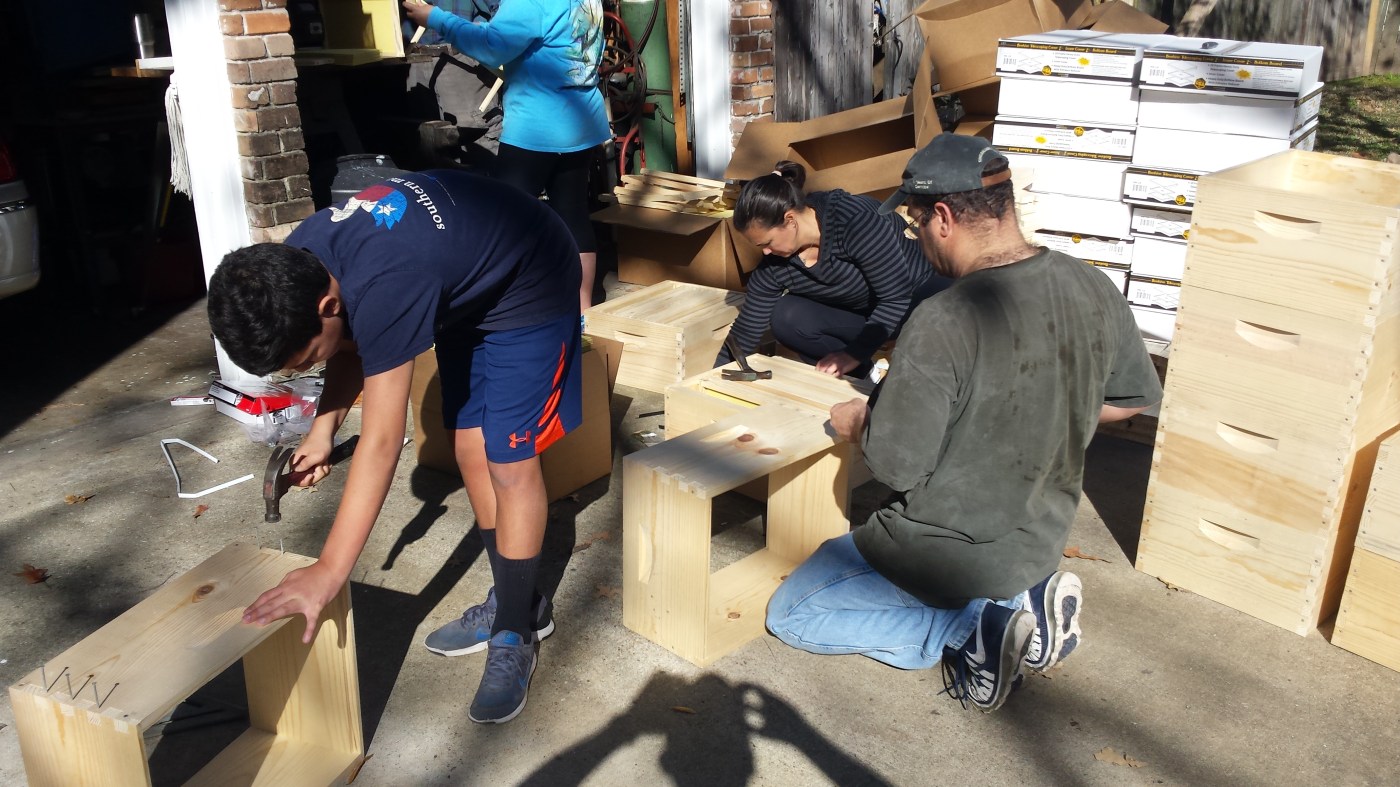
The process of transferring consists of the following steps:
- Remove the lid of a regular bee box along with a frame to make room for a feeder tray. The bee box should be off the ground and slanted forward towards the opening of the box to ensure water does not collect in the box during rainy weather.
- If you have a sugar-water mixture already prepped, you can add some to a feeder tray and insert it into the now open slot in the box. Remember, bees are not great swimmers and can drown so make sure to add sticks and twigs to the feeder tray to give the bees something to rest on while they sip their cocktail. You may want to hold off on inserting the feeder tray until after tapping the bees out of the caged box, which is described later below.
- I think it is a good idea to spray down the box and frames with a mist from a spray bottle of sugar-water. This helps subdue the bees during the transfer by giving them something they so desperately want to do – drink!
- It is also a good idea to spray down the caged boxes with the new bees. They have been on the road for days and are thirsty and hungry. Spraying them down will help subdue them during the transfer process. Make sure not to over-spray as you do not want to water-board them…unless you want to know all about the secret life of bees!
- Some people like to use a smoker whenever handling bees. The smoke does two things that aid beekeepers – (1) it tricks bees into thinking there is a fire nearby and causes bees to eat their honey in case they have to flee, which then lazes them into a Thanksgiving-like coma and (2) it masks pheromones emitted by bees, especially pheromones emitted when the bees feel threatened by strange white, veiled creatures stealing their honey. We did not use a smoker when transferring the bees because we wanted to make sure the bees knew where their queen was at all times. We do use smokers otherwise.
- You can now remove the piece of wood over the opening to the box-cage holding the bees. You may need a small hive tool or flat pry bar to help remove the staples holding the wooden lid in place.
- With the lid removed, you can now slide the can of syrup out of the box. It should not be open. Set it aside for now or hand it to an assistant who can open it and pour it into the feeder tray (if you did not have the foresight to make and bring some sugar-water).
- With the lid and syrup can removed, you should see the caged queen dangling in the box by a strip of plastic. Carefully remove the cage while keeping as much of the plastic strip intact.
- Inspect the cage to make sure the queen is inside. This is pretty important because a queen-less hive will not survive. If you do not know what a queen looks like, ask someone who does. If nobody around does, then look for a bee longer than the rest.
- Once you have established the presence of the queen, remove the cork on the candied end. This will expose the candy to the bees who will then start eating their way to the queen and eventually liberate her. This may take a day or two so be sure to check your hive three to four days after transfer to ensure your queen gets out. If your queen is not out when you perform your follow-up check, carefully cut out the candy yourself so she can get out.
- Now attach the plastic strip to the lip of your bee box so that the caged queen is nestled between two frames. You can use a staple gun to do this – please watch your fingers…even when wearing gloves (you do not want to deal with a stapled finger or glove during transfer)! You should place the queen one frame over from the feeder tray.
- Some of the bees have started making their way to the box already on their own volition. Other are just flying around happy to be free of the cage. The rest are still buzzing in the box. You need to hold the caged box of bees over the bee box and perhaps not directly over the feeder tray (if inserted) and then firmly tap them out. I admit, it takes a very firm tap to get them out.
- Once you have tapped most of the bees out, set the caged box by the bee box so any remaining bees can make their way out on their own.
- If you have not inserted your feeder tray, do so now. Do not forget to add the syrup or sugar-water cocktail. We went ahead and added the pre-packaged syrup and saved our sugar-water for later feedings.
- Cover the bee box while making sure you do not crush any bees in the process.
- There you have it. Leave them alone and check back in three to four days to ensure the queen gets out.
Most of the transfers went without incident. We had a few stings, but nothing to write home about. I am happy to report I did not get stung. My personal protection equipment (PPE) worked well.
During one of our transfers, we noticed a non-caged queen fly out of the box and land on Billy’s shoulder. My wife pointed her out before she got away to a nearby light pole. When she flew away she took about half of the bees that came in the same box. The swarm stayed on the light pole for about a day before flying away to a neighbor’s tree. We checked the caged queen yesterday and she was not out yet. The hive looked a little depleted and we are worried it may not make it. We let the queen out today to help her along. Hopefully we can salvage the hive.
We should be extracting soon so send us your orders.
YBIB,
John the Elder

Your Latest Buzz